Going nutty yet? Us too. While we navigate this “new normal,” my three-year-old daughter Samantha and I have ramped up craft activities at our house. Below are some of our favorite more-recent crafts we’ve made! I’m posting (almost daily) fun and free crafts to do with your kiddos on my Instagram page – @BusyInGroveCity.
In the meantime, here’s to staying busy, staying safe and staying home!
15 Crafts for Kids
CRAYON MUFFINS
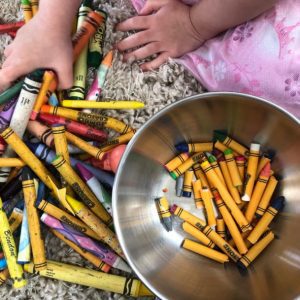
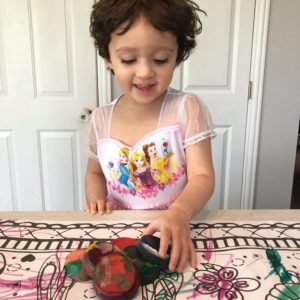
Anyone else’s Momma make crayon muffins when you were little? My mom made these with broken crayons ALL the time. Start to finish this was a super hands-on activity that Sam could help with! Ripping the paper off, sorting colors, dropping them in the tins, and of course – coloring! These are easy – and fun:
- Preheat oven to 275 F
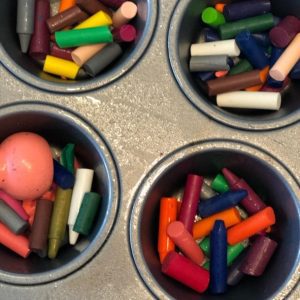
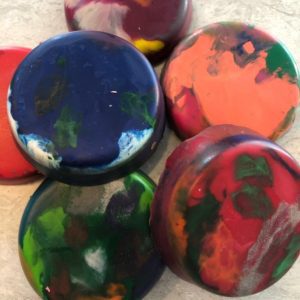
- Drop broken crayons into muffin tins (large or small) – make sure all paper is removed! We made color-specific ones and also multi-color ones
- Bake for 7 minutes – they will melt fast
- Cool in the fridge for an hour
- Pop out and start coloring!
TEDDY BEAR PICNIC
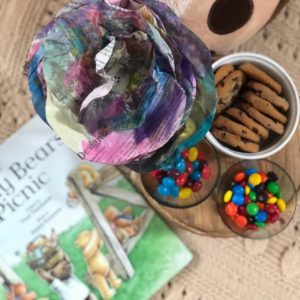
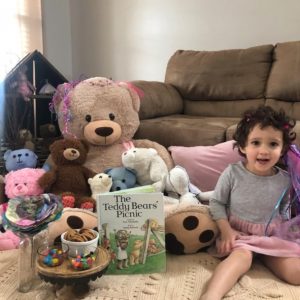
“Today’s the day the teddy bears (and Sam) have their picnic!!!” When I was picking up the playroom I found my copy of Teddy Bear Picnic my grandparents gave me in 1992! It gave me an idea – why not have our own Teddy Bear picnic! I spread out a blanket, gathered all her bears, a special crown, the book and of course plenty of sugary treats! Listen to this for inspiration!
(INDOOR) FAIRY GARDENS
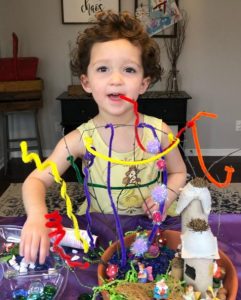
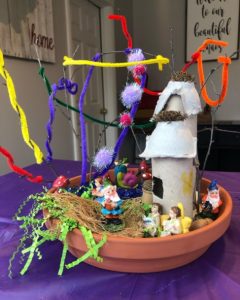
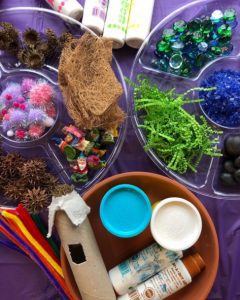
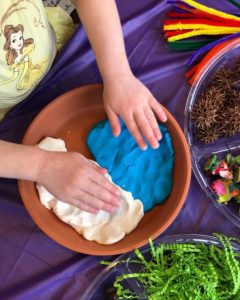
I love fairy gardens (and so does Sam)! And the best part of these easy indoor fairy gardens? You can put whatever you want in them – seriously all you need is a bowl and treasures! Since we were doing ours indoors, I swapped dirt for PlayDoh and we skipped plants. I literally grabbed anything I could find around the house (and outside) – rocks, Easter grass, cut up coco liner, gems, acorns, sticks, pipe cleaners, vintage spools, pom poms and more. The fairy towers are just paper towel rolls with part of an egg carton and the top of an acorn glued to the top. It was so fun and seriously so easy.
SEND A HUG
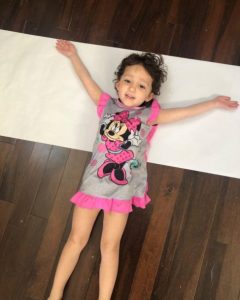
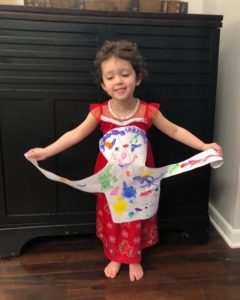
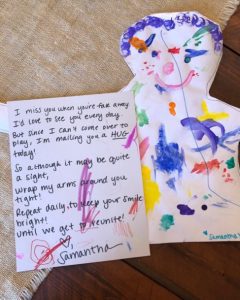
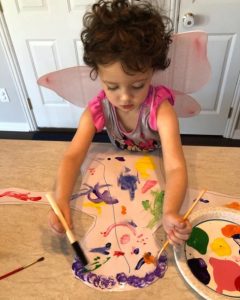
This might be one of my favorite activities yet. The timing is just too perfect. A “hug” for those you can’t see right now. We used paper from Sam’s easel – but the back of wrapping paper world work too. Trace the kiddo’s top half, cut and let them decorate. There’s a cute poem that goes with these too. These are the best and safest kinds of hugs for now until we can hug everyone ourselves again.
PAINTING WITH CARS
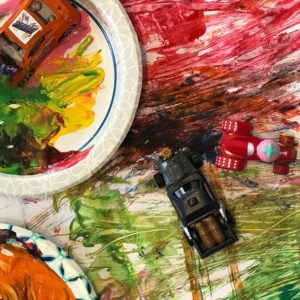
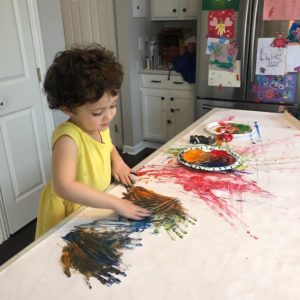
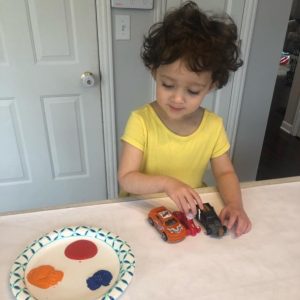
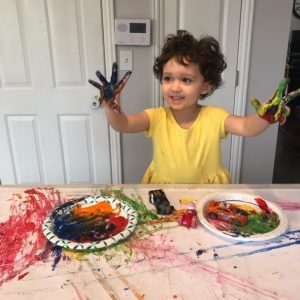
A while ago at Sam’s playgroup one of the stations was driving cars through shaving cream — which gave me an idea… why couldn’t we do the same thing but with paint!? I grabbed paper off Sam’s big easel and taped it to our island — the back of wrapping paper would work too. The cars lasted awhile then she just went all-in with her hands.
FAIRY PLAYDOH
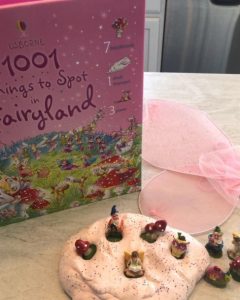
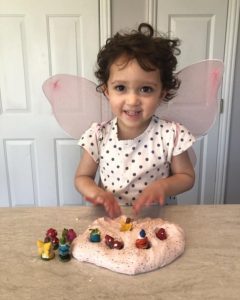
Last fall I took Sam to the “Fairy and Gnome Home Festival” at Bill Yeck Park in Cederville. Not only was it the most darling event ever we also got the recipe for the most amazing and softest “fairy playdoh” ever! We decided to whip up a batch and add in a pair of fairy wings and our Usborne fairy seek-and-find book! To make the fairy playdoh: 1 cup hair conditioner, 2 cups corn starch, food coloring and glitter (optional) but DUH! Mix it all together for the softest fairy playdoh ever!
PAINTED THUMBPRINT BUGS
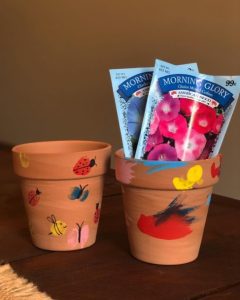
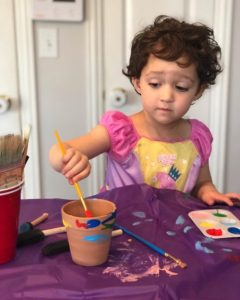
Sam decorated tiny terra-cotta pots – two for $1 at Dollar Tree! The first pot Sam painted on her own and the second we used her thumbprints to make bees, ladybugs and butterflies! Throw in some packaged seeds with these and you have an easy Mother’s Day gift!
FIZZLE RAINBOW
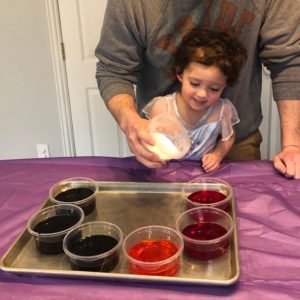
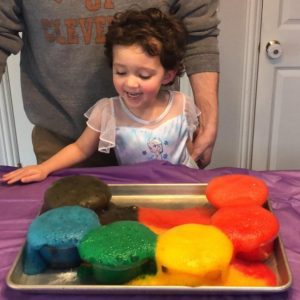
Messy fun! Fill little cups halfway with white vinegar – add a little food coloring and sprinkle in baking soda and fizzzzzlleeeeee fun! I recommend doing it on a baking sheet and adding a trash bag or plastic table cloth under it!
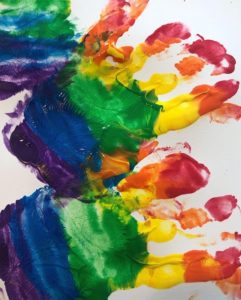
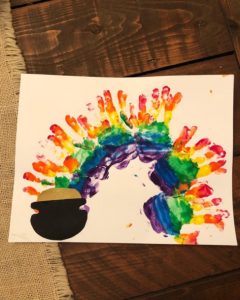
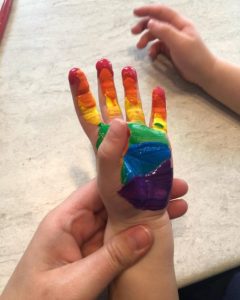
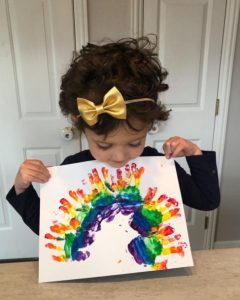
HANDPRINT RAINBOWS
I realize no one is feeling particularly “lucky” at the moment, but why not create a little luck of your own? Paint your kiddos hand with all the colors of the rainbow and then get to work! Pro tip- for little ones like Sam, you gotta work fast since their natural reaction is to put their hand into a fist (which as you can imagine makes BROWN). Despite these weird, hard days, this project is a good reminder that better days are ahead and soon enough the storms will end and we will see the rainbows again.
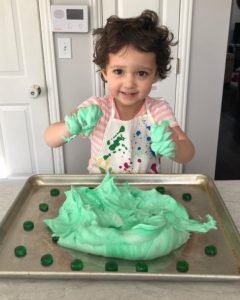
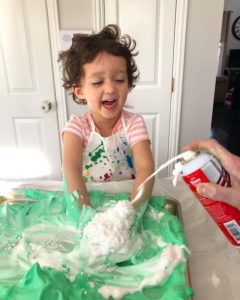
MESSY SHAVING CREAM FUN
All you need are two ingredients to make this amazing MESSY, FUN!!! Shaving cream + food coloring! I eyeballed the food coloring, folded the color in and insta fun! Pro tip: keep it from going everywhere by putting it on a cookie sheet – and if you have light-colored countertops, pop it on a trash bag so the counters don’t get stained!! I added a few green jewels too I found on our art cart.
EGG CARTON CATERPILLARS
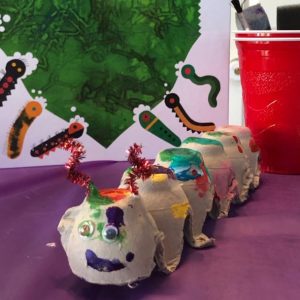
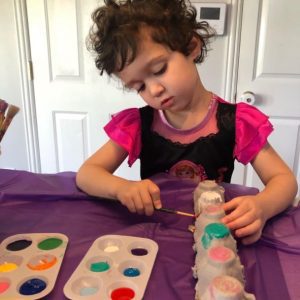
Normally this time of year we head to Franklin Park Conservatory (or Fancy Park as Sam calls it) for the annual butterfly exhibit — this year we even had tickets to release our own butterflies. But, since everything is on hold, I brought my own metamorphosis (art) lesson to Sam.❤️
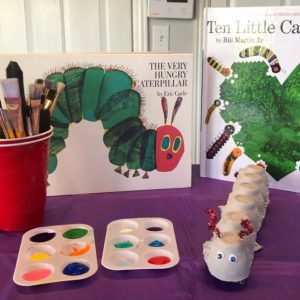
I cut a strip from an old cardboard egg carton, added googly eyes and antennas (pipe cleaners) and let Sam get to work with paint! While she painted I read her two books – “Ten Little Caterpillars” and “The Very Hungry Caterpillar.”
BUTTERFLIES, OH MY!
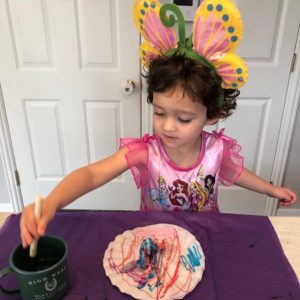
We started with caterpillars – now onto butterflies! (Also, snazzy crafts require snazzy butterfly headbands.)
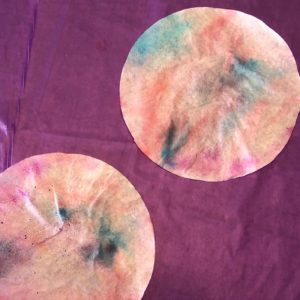
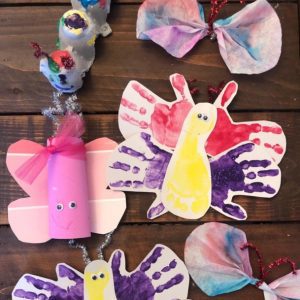
-Coffee filter butterflies – stack two coffee filters on top of each other, decorate with felt-tip markers and then drip water on them until the colors bleed. Let completely dry then accordion-fold and secure the middle with a pipe-cleaner.
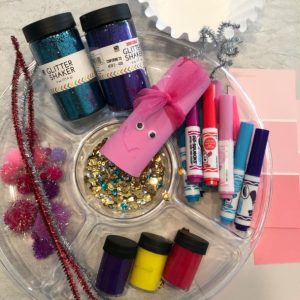
-Toilet paper roll butterfly – paint, decorate and add googly eyes… we used paint swatches for wings.
-Foot & handprint butterflies – time to get messy! We made extras to mail to grandmas!
PAPER PLATE CROWNS
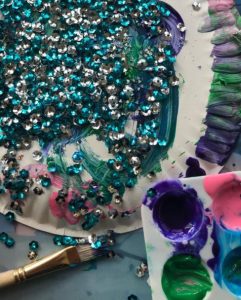
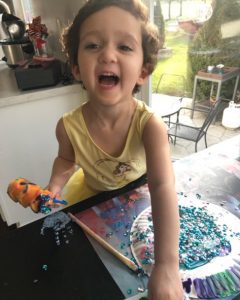
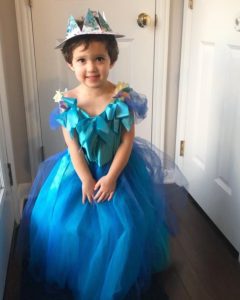
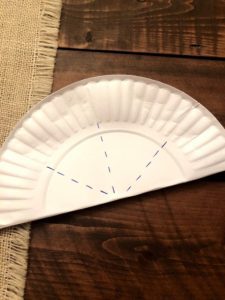
Not quite a Kentucky Derby fascinator, but close! These are super easy and stuff you already have at home – paper plates, paint, markers, jewels. We used paint and LOTS of sequins. When Sam’s crown was dry, I told her I wanted to take a picture – but first she insisted on an outfit change!
PINE CONE PEANUT BUTTER BIRD SNACKS
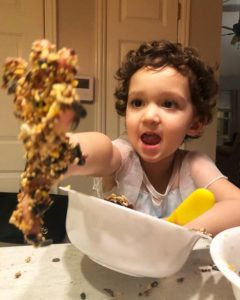
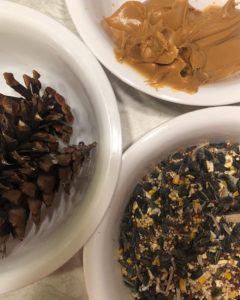
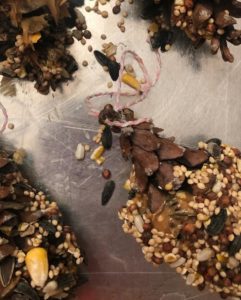
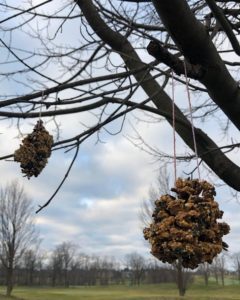
Since Sam was a baby, she’s loved watching the birds in our backyard. These are super easy and likely stuff you already have at home – pine cones (I just grabbed some from the tree in our yard), peanut butter and birdseed. Start by tying a little piece of yarn around the pine cone to make a hanger, smother on peanut butter and then roll in birdseed. EASY PEASY! Pro-tip from Sam, it’s actually a lot easier (and way more fun) to just use your hands than trying to use a knife.
PICTURE FRAME BIRD FEEDERS
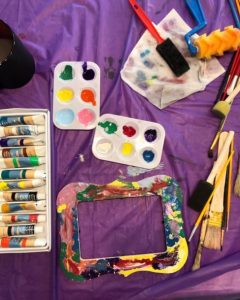
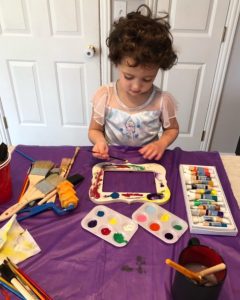
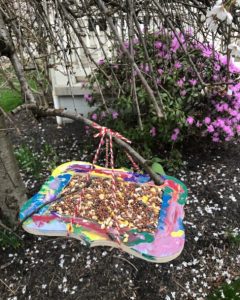
These are also “for the birds” – picture frame bird feeders! We used one of the $1 wooden frames from Michael’s you paint yourself (I always have a stack of these on hand at home.) Since it’s going outside we painted with non-washable paint (just in case it gets wet). Once it dried I hot-glued twine on the back, popped the cardboard back in the center and filled with a layer of seed!
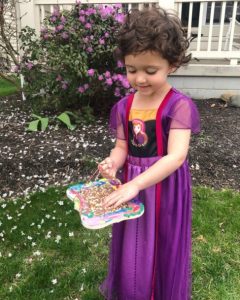
Want more easy and fun crafting ideas? Find us over on @BusyInGroveCity on Instagram!










These art projects are GREAT ideas!!!!! I am definitely going to try some with my son…although he probably won’t be nearly as cooperative as your sweet Samantha seems to be :). Thanks for sharing! I love your posts!!!
Thanks, Momma!!!! Trust me — there are plenty of tantrums and meltdowns behind the scenes! Plenty of bribery too! hahah!! “Samantha, I’ll give a piece of chocolate if we can just finish this craft now” HA!!
I did a similar hug with our 21 month old…. but I LOVE the poem idea. I haven’t sent them yet, so it will be a GREAT addition.
Thanks so much— keep up the great work!
Comments are closed.